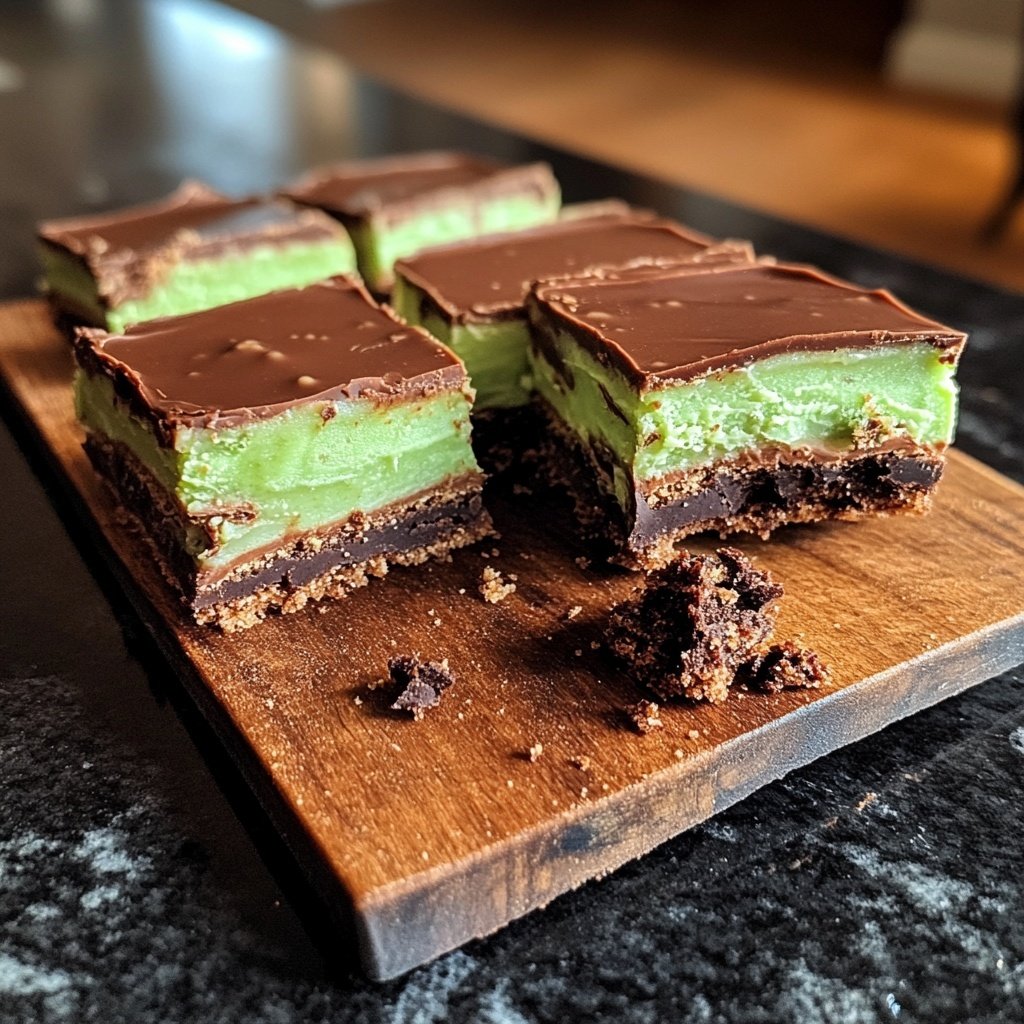
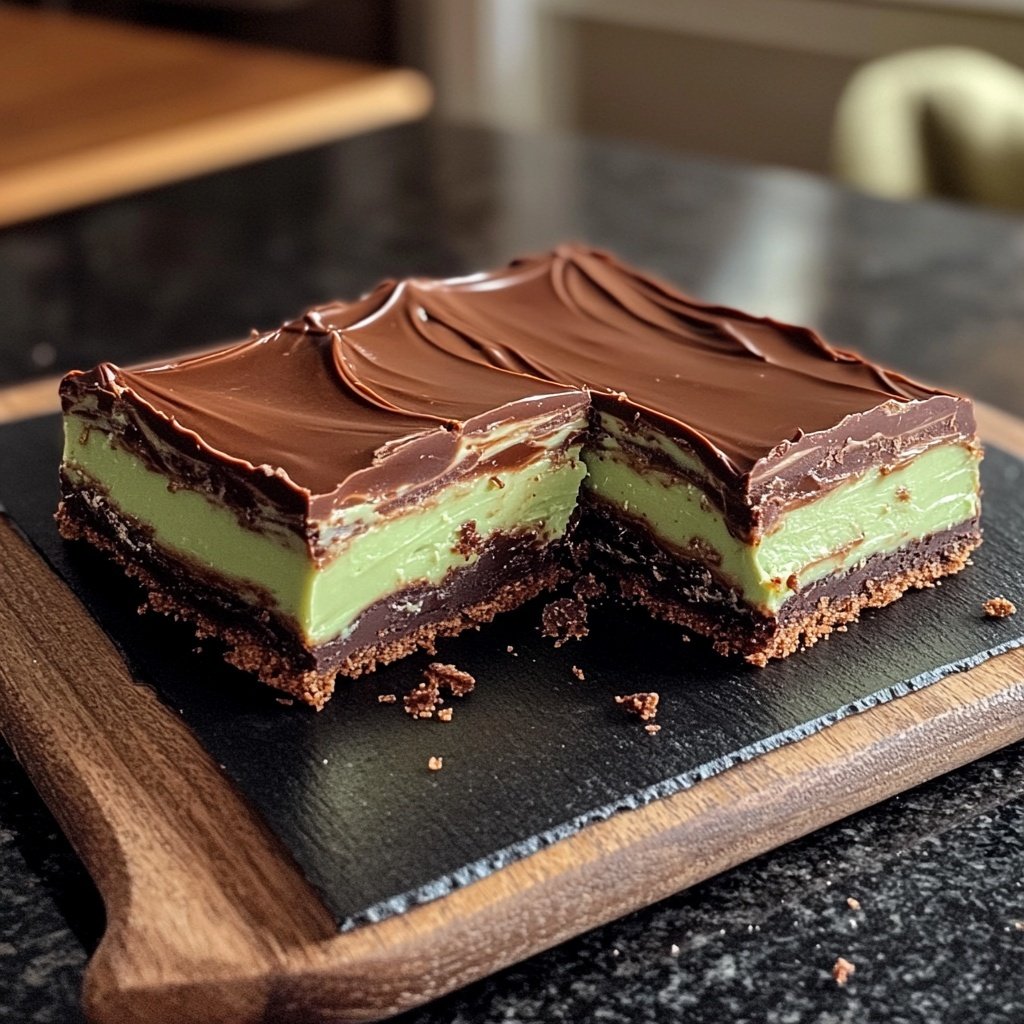
Chocolate Mint Slice Bars
Highlighted under: Sugary Delights
I absolutely love making Chocolate Mint Slice Bars. These treats combine the rich, decadent flavor of chocolate with a refreshing mint twist that leaves my taste buds dancing. The layers of creamy mint filling and a rich chocolate coating create an irresistible dessert. Whenever I serve these bars, they disappear in no time! Perfect for gatherings, they add a deliciously sweet finish to any meal or special occasion. Plus, they’re easy to make, which makes them one of my go-to recipes whenever I’m in the mood for something indulgent.
When I first created this Chocolate Mint Slice Bars recipe, I was inspired by my favorite dessert flavors. I experimented with various mint and chocolate combinations until I landed on this perfect balance. Using fresh mint for the filling gives it a vibrant, authentic taste that pairs beautifully with the chocolate coating.
Throughout the process, I discovered that chilling the bars thoroughly allows the flavors to meld, resulting in a richer chocolate experience. An essential tip is to use high-quality chocolate for the coating; it elevates the entire dessert and enhances the taste. Trust me, your guests will be asking for seconds!
Why You'll Love These Bars
- Decadent chocolate paired with refreshing mint flavor
- Creamy texture with a satisfying crunch
- Easy to make and perfect for sharing
Understanding the Base Layer
The base layer of the Chocolate Mint Slice Bars is crucial for providing stability and flavor. By using crushed digestive biscuits, you introduce a delightful crumbly texture that complements the creamy mint filling. Make sure to crush the biscuits finely, as larger pieces can lead to an uneven texture. Mixing in unsweetened cocoa powder not only adds depth to the chocolate flavor but also enriches the color of the base, giving it an inviting appearance.
When combining all the ingredients for the base, ensure the melted butter fully incorporates the dry components. This step guarantees that the mixture sticks together when pressed into the baking tray. Aim for a firm but even layer—if it’s too loose, it may crumble when you slice the bars later. If you find your mixture is too dry, add a teaspoon of milk; just be cautious not to over-moisten it.
Crafting the Perfect Mint Filling
The mint filling of these bars is where the magic truly happens, balancing sweetness with refreshing flavor. When mixing the powdered sugar and cocoa powder, sift them first to eliminate any lumps, which results in a smoother texture. The addition of peppermint extract should be done cautiously; too much can overpower the other flavors. Start with the suggested amount, then taste to decide if you want to add a few more drops.
Milk plays a vital role in achieving the desired consistency for the mint filling. Depending on humidity levels, you may need to adjust how much you add. Aim for a thick but spreadable frosting-like texture. If it's too runny, it will not hold its shape on the base; too thick, and it will be challenging to spread. If you need to thicken it, add more powdered sugar, or if it’s too thick, incorporate a little more milk gradually.
Finishing Touches and Storage Tips
To achieve a glossy finish on the chocolate coating, ensure the dark chocolate is melted slowly over low heat, either in a microwave or a double boiler. Stirring frequently helps prevent burning. Once melted, add coconut oil; this not only aids in achieving a shiny texture but also makes cutting the bars easier later. Ensure the chocolate is fully cooled but still pourable before adding it to the mint layer; this prevents the filling from melting into the chocolate.
Once the bars have been refrigerated for at least 30 minutes, they can be sliced into squares for serving. I recommend using a sharp knife dipped in warm water for clean edges. The bars can be stored in an airtight container in the refrigerator for up to a week, or they can be frozen for longer storage. Just make sure to separate layers with parchment paper to prevent sticking.
Ingredients
Gather the following ingredients:
Base Layer
- 1 cup crushed digestive biscuits
- 1/2 cup unsweetened cocoa powder
- 1/2 cup unsalted butter, melted
- 1/4 cup granulated sugar
Mint Filling
- 1 cup powdered sugar
- 2 tablespoons unsweetened cocoa powder
- 1 teaspoon peppermint extract
- 2-3 tablespoons milk
Chocolate Coating
- 200g dark chocolate, chopped
- 1 tablespoon coconut oil
Make sure to have everything organized before you start!
Instructions
Follow these steps to create your Chocolate Mint Slice Bars:
Prepare the Base Layer
In a mixing bowl, combine the crushed digestive biscuits, cocoa powder, melted butter, and sugar until well mixed. Press the mixture evenly into a lined baking tray to create a solid base.
Make the Mint Filling
In another bowl, whisk together the powdered sugar, cocoa powder, peppermint extract, and milk until smooth. Spread the mint filling over the cooled base layer, making sure to cover it evenly.
Chocolate Coating
Melt the dark chocolate and coconut oil together in a microwave or double boiler. Once melted, pour the mixture over the mint layer and spread it out evenly. Refrigerate the bars for at least 30 minutes to set.
Slice and Serve
Once set, remove the bars from the tray and slice them into squares. Serve chilled for the best flavor.
Enjoy your delicious Chocolate Mint Slice Bars!
Pro Tips
- For a fun twist, try adding crushed peppermint candies on top of the chocolate coating before it sets for extra texture and holiday flair.
Ingredient Substitutions
If you’re looking to make these bars gluten-free, you can easily swap the digestive biscuits for gluten-free cookies, such as almond or coconut biscuits. This ensures that everyone can enjoy the delicious mint and chocolate combo without dietary restrictions holding them back. For a lighter version, consider using a low-calorie sweetener in place of granulated sugar in both the base and filling; however, be sure to adjust the quantities based on the specific product you're using.
For those who are sensitive to dairy, substitute the unsalted butter with a dairy-free alternative like coconut oil or vegan butter. The dark chocolate can also be replaced with a dairy-free variety to keep the recipe completely dairy-free while still maintaining that rich chocolate flavor.
Serving Ideas and Variations
These Chocolate Mint Slice Bars can be enjoyed on their own, but they can also pair beautifully with whipped cream or a dollop of mint-infused yogurt for an extra touch of indulgence. Consider serving them alongside a scoop of vanilla or mint ice cream to elevate your dessert experience, especially in the warmer months.
For a unique twist, feel free to experiment with flavors in the mint filling. Adding a bit of crushed peppermint candies or chopped chocolate mint leaves can elevate the flavor and texture. Alternatively, you can infuse the chocolate coating with a hint of chili powder or sea salt to contrast the sweetness and add an exciting flavor dimension.
Questions About Recipes
→ Can I use milk chocolate instead of dark chocolate?
Yes, milk chocolate can be used, but it will result in a sweeter flavor.
→ How should I store the Chocolate Mint Slice Bars?
Store them in an airtight container in the refrigerator for up to a week.
→ Can I make these bars gluten-free?
Absolutely! Use gluten-free biscuits for the base layer to make them gluten-free.
→ How long do these bars last in the fridge?
They can last up to one week in the refrigerator, but they are best enjoyed fresh.
Chocolate Mint Slice Bars
Created by: Tabitha Green
Recipe Type: Sugary Delights
Skill Level: Intermediate
Final Quantity: 16 bars
What You'll Need
Base Layer
- 1 cup crushed digestive biscuits
- 1/2 cup unsweetened cocoa powder
- 1/2 cup unsalted butter, melted
- 1/4 cup granulated sugar
Mint Filling
- 1 cup powdered sugar
- 2 tablespoons unsweetened cocoa powder
- 1 teaspoon peppermint extract
- 2-3 tablespoons milk
Chocolate Coating
- 200g dark chocolate, chopped
- 1 tablespoon coconut oil
How-To Steps
In a mixing bowl, combine the crushed digestive biscuits, cocoa powder, melted butter, and sugar until well mixed. Press the mixture evenly into a lined baking tray to create a solid base.
In another bowl, whisk together the powdered sugar, cocoa powder, peppermint extract, and milk until smooth. Spread the mint filling over the cooled base layer, making sure to cover it evenly.
Melt the dark chocolate and coconut oil together in a microwave or double boiler. Once melted, pour the mixture over the mint layer and spread it out evenly. Refrigerate the bars for at least 30 minutes to set.
Once set, remove the bars from the tray and slice them into squares. Serve chilled for the best flavor.
Extra Tips
- For a fun twist, try adding crushed peppermint candies on top of the chocolate coating before it sets for extra texture and holiday flair.
Nutritional Breakdown (Per Serving)
- Calories: 250 kcal
- Total Fat: 15g
- Saturated Fat: 9g
- Cholesterol: 30mg
- Sodium: 50mg
- Total Carbohydrates: 30g
- Dietary Fiber: 2g
- Sugars: 20g
- Protein: 3g